
FIRST ASSESSMENT
You are going to create your first Vector collage. How you create or manipulate various filters is completely up to you, however the theme of the collage is 'Creating your Future' (currently our animated principle). You have three weeks to complete this collage. The due date is the 15th August. After every class, I need you to;
|
|
Vector graphics is the use of geometrical primitives such as points, lines, curves, and shapes or polygons—all of which are based on mathematical expressions—to represent images in computer graphics. Vector graphics are based on vectors (also called paths or strokes), which lead through locations called control points or nodes. Each of these points has a definite position on the x and y axes of the work plane and determines the direction of the path; further, each path may be assigned a stroke color, shape, thickness, and fill. These properties don't increase the size of vector graphics files in a substantial manner, as all information resides in the document's structure, which describes solely how the vector should be drawn
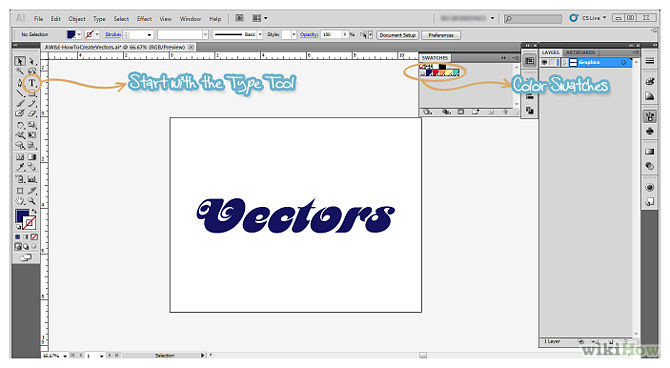
There are many ways to create vector graphics through illustrator, one way is to start with the type tool.
- 1 Click on the Type Tool and type a word, such as “Vectors” like the accompanied illustration or even your name would do.
- 2 Choose also five colors you would like to use for this tutorial. If you want to follow the colors used, here are also the details on the color settings. Dark Blue: C=100, M=97, Y=0, K=45 ; Dark Red: C=0, M=100, Y=79, K=20 ; Orange: C=0, M=53, Y=68, K=0 ; Yellow: C=0, M=0, Y=51, K=0 ; Green: C=61, M=0 ,Y=45, K=0.
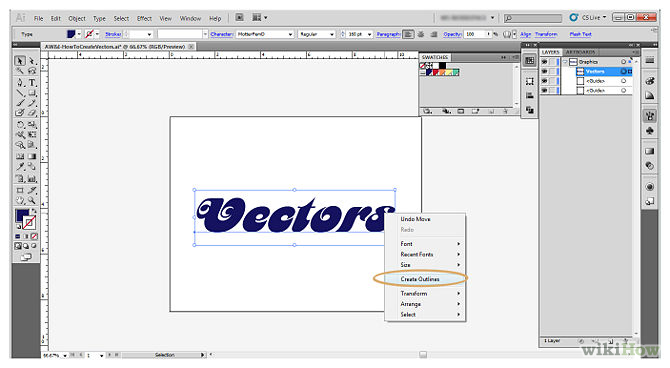
The next step is to select your text, right-click and click on Create Outlines to outline your text. You can also use Shift + Ctrl + O as a shortcut on creating outlines.
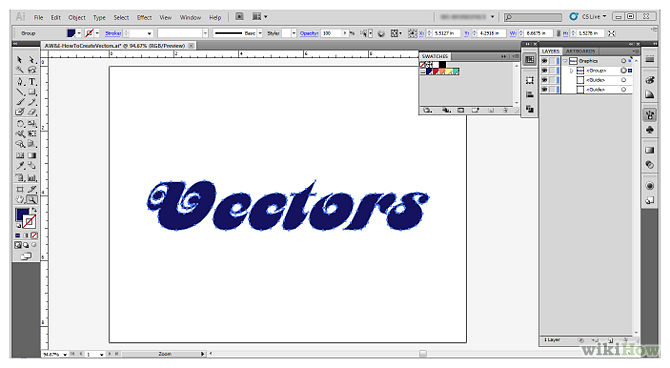
Here is now a sampled text vectorized or outlined.
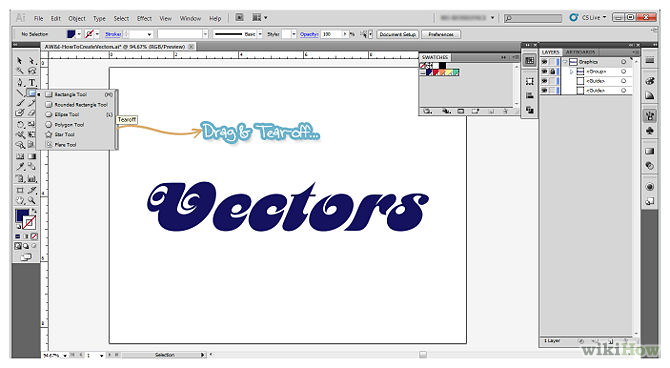
Next is to create different vector shapes. Start by dragging first and tearing off Illustrator’s Shape Tool, so that you will be able to see all the different shape applications Illustrator can offer.
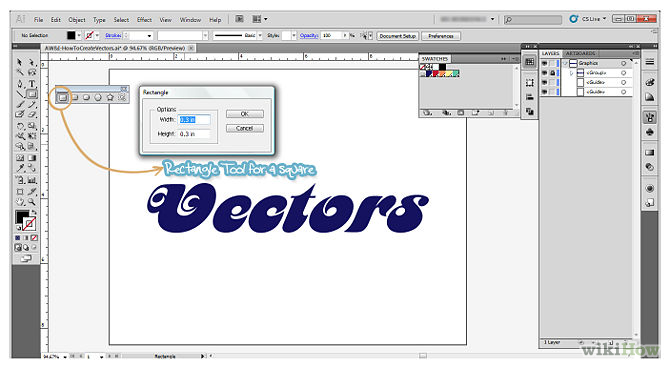
Then starting with the Rectangle Tool create a square. Click on the rectangle tool icon and then click over the Illustrator canvas. Set the settings as indicated on the accompanied illustration or you can set your own size also. Be reminded also to make the size equal on both sides.
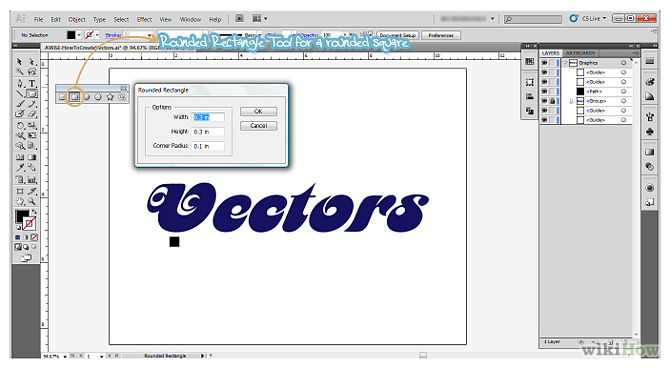
Next is to create a rounded square using the Rounded Rectangle Tool. With the same application as the previous step create the rounded square. However because the Rounded Rectangle Tool has round corners add then a setting for its corner radius.
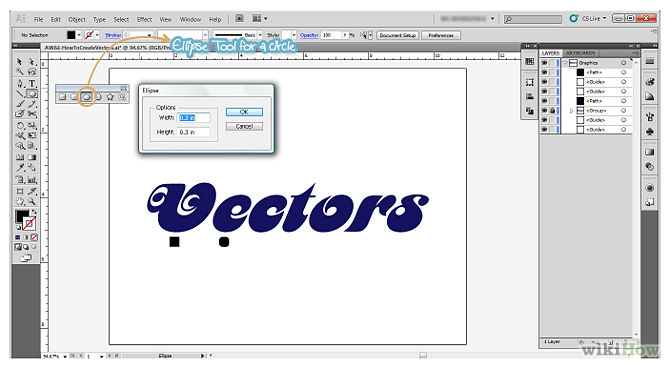
Create a circle for the third shape using the Ellipse Tool. With the same settings as a square, set a same size on the width and height of the circle.
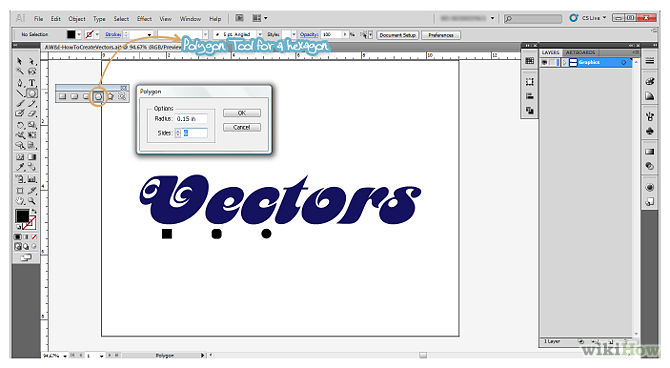
Then the fourth shape is a hexagon using the Polygon Tool. For the settings of the hexagon set the size 50% smaller and then type on its sides 6 for 6 sides for a hexagon.
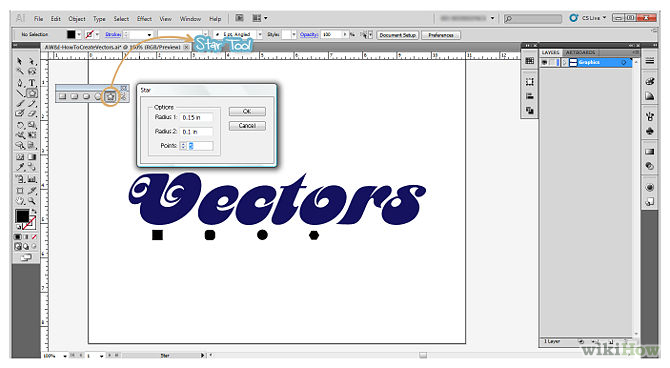
And then for the fifth shape make a star using the Star Tool. Set the size of the star 50% smaller also for its first radius and then one-third smaller for its second radius. Then type in 5 for 5 points on the star.
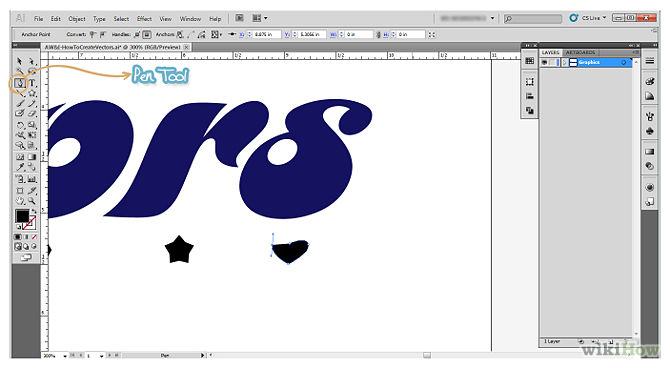
Lastly, another way to create a vector is to use the Pen Tool. Use the Pen Tool to draw or trace shapes, in this case to complete your artwork draw a small heart.
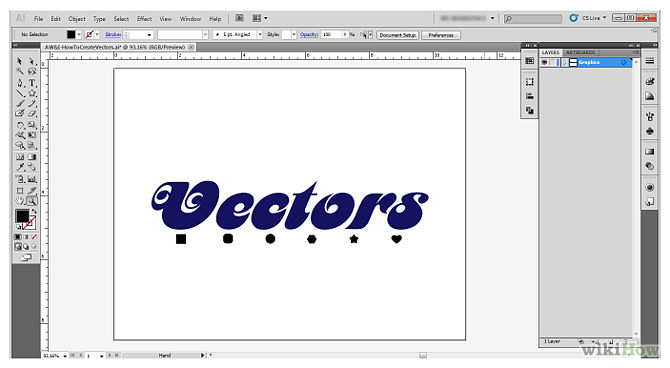
Here is thus your vectored text and 6 vector shapes made through three applications on how to create vectors. You can now add in colors on the shapes and vectored text.
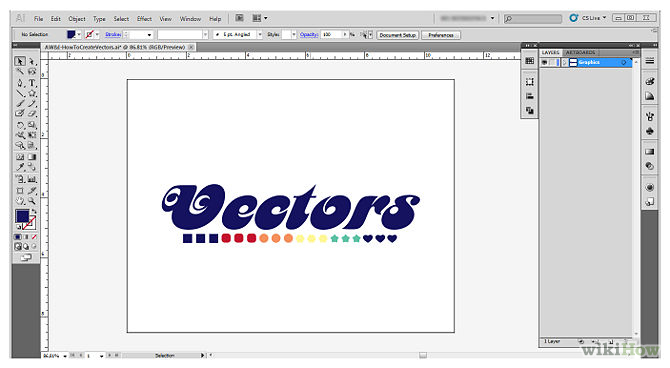
Sample Final Artwork.
